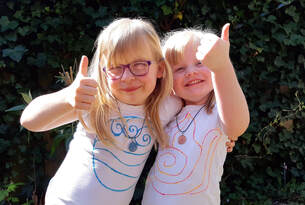
 Avatar the Last Airbender is probably the best animated series ever, so I couldn't wait to introduce my girls to Aang and his team. We only had the finale to go, and I wanted to do something special. Corona leaves us with plenty of time, so we made a day out it: Avatar day. Needless to say: Evy and Lise loved the idea of Avatar day. The day before I asked them which element they identified with, Evy loves Katara and chose water. Lise is our little rebel and wanted to be a firebender. 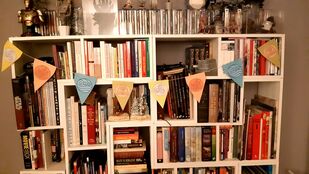 Decorations: It was clear that they saw Avatar day as a party (and it was!), so we couldn't do without garlands and balloons. I used the symbols for earth, water, air and fire to make paper garlands. I printed the symbols, cut them out and glued them to colored paper. I also drew the symbols on some balloons. Gifts/apparel: I found some white shirts, and drew the symbols for water and fire on them with textile markers. I like to make jewelry too, so I printed the symbols and used resin to make pendants for a cute necklace. They LOVED both of them. 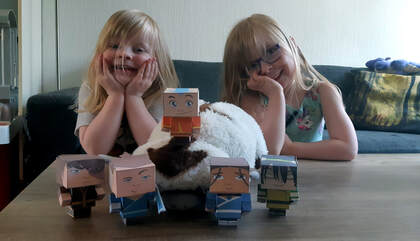 Crafts/coloring pages: My eldest loves making things and drawing, so I really needed to print some coloring pages.. She is 5 years old, so needed help to make the Cubee papercraft figures, but cuting out the parts was good practice :-) Making one Cubee takes a while, so we completed the whole team in the following week. You can download the Cubees here! 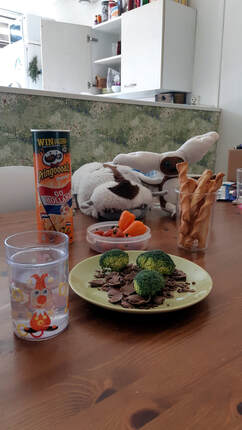 ctivities/experiments: The four elements are mysterious and amazing to (young) Geeklings. A great way to combine fun with some education. My girls are very young, so I used some very simple experiments.
Lunch: I wanted to make a fun lunch, so I dyed pudding in the colors of the four elements. Earth was imitated with some chocolate, and I used broccoli as trees. The colors of fire where present in cherry tomatoes, an snacksize bell peppers. Cheese straws represented the staff of Aang. After lunch we watched the last three episodes. My eldest cried at the reunion of Zuko and uncle Iroh :-) Sometimes she hid her face in pillows when it was too excited. We had a great time and snacked on the cupcakes I made. I didn't have time for difficult decorations, so just used some butter cream in the elements colors. After watching tv it was time to play outside. I made a plate with the face of firelord Sozin on it. My Geeklings attacted them their water pistols.. it might have been the favorite part of their day :-P
2 Comments
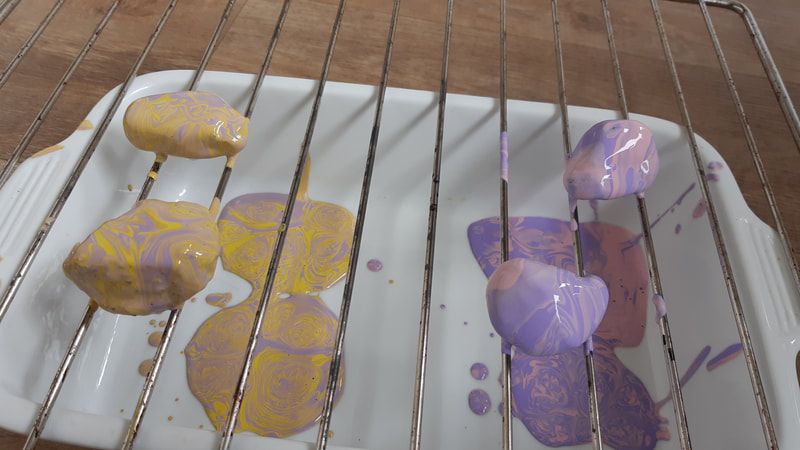
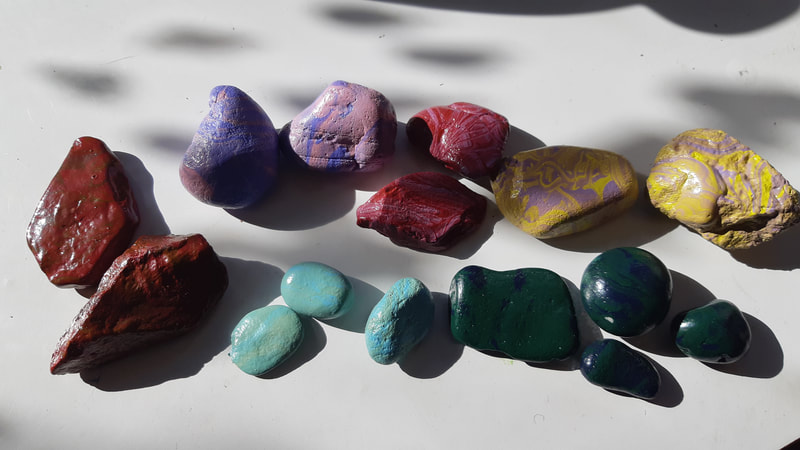
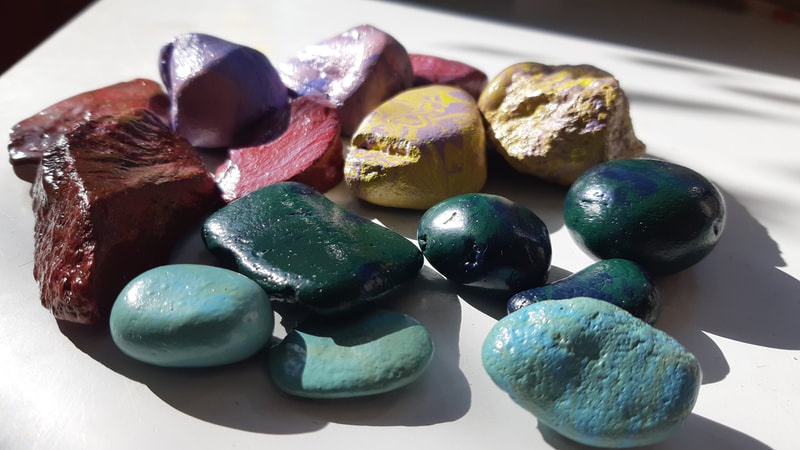
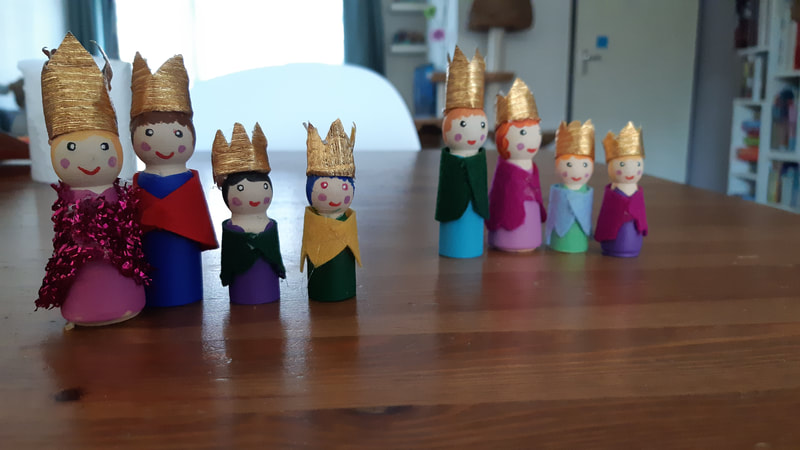
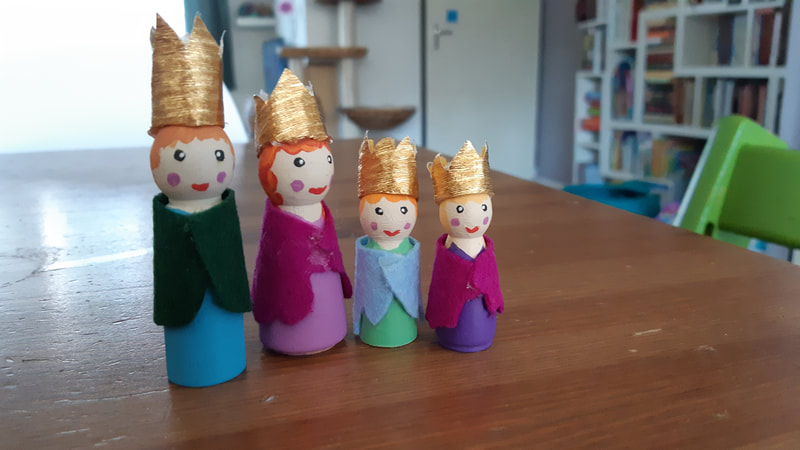
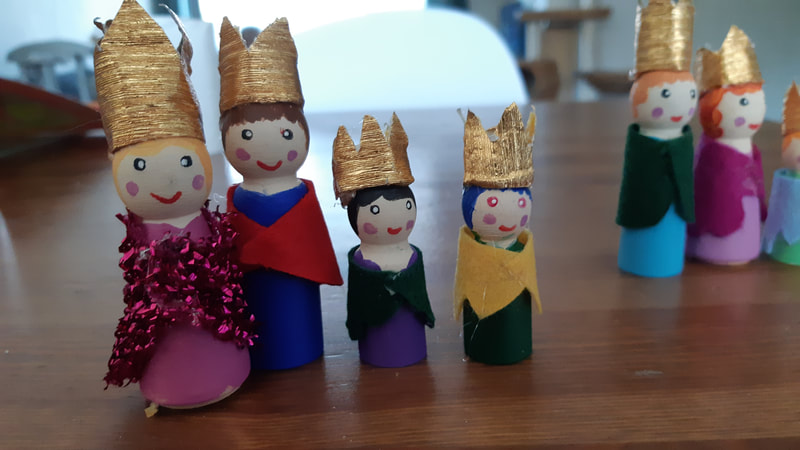
Place a rack on a bucket (or something similar) to collect the paint you spill. Then put the stones on this rack. Pour two different colors of paint in a cup. Don't stir! Then pour the paint over the stones, make sure to cover every part of them. My girls are 3 and 5 and could do this themselves. It made them really proud :-) The stones will take some time to dry, at least 24 hours. I let my Geeklings pick the colors they wanted to use and was suprised by the combinations they chose. They worked really well, even if I didn't think they would. The result is a hand made treasure. After making the cardboard castle it was time to create a king and queen to live in it. I really like to use peg dolls, they can be anything and are very child friendly.
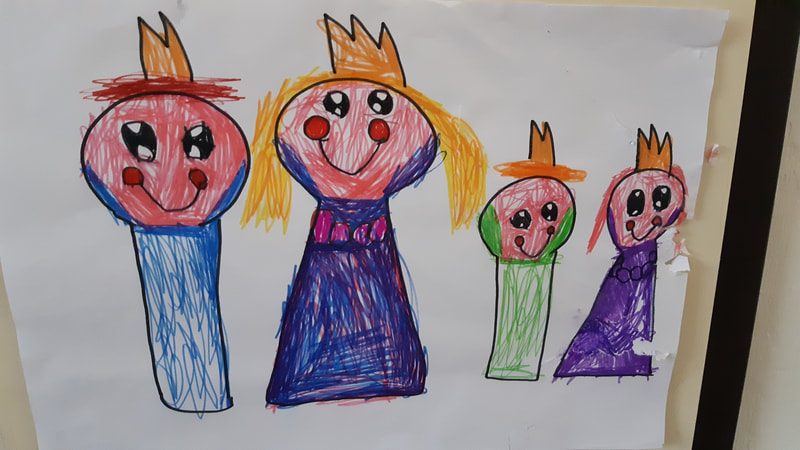
In this case I gave my Geeklings the chance to make a drawing, to show what the peg dolls should look like. This keeps children busy for a while longer ;-) You can decorate the wooden dolls with felt-tip pens, or with paint. The pens are easier to use for children. In this case I was the one who made the dolls, with paint and felt for the clothes. And a royal family can't do without their crowns.. I had some gold paper, but used felt as a base for stability. How do you like the result?
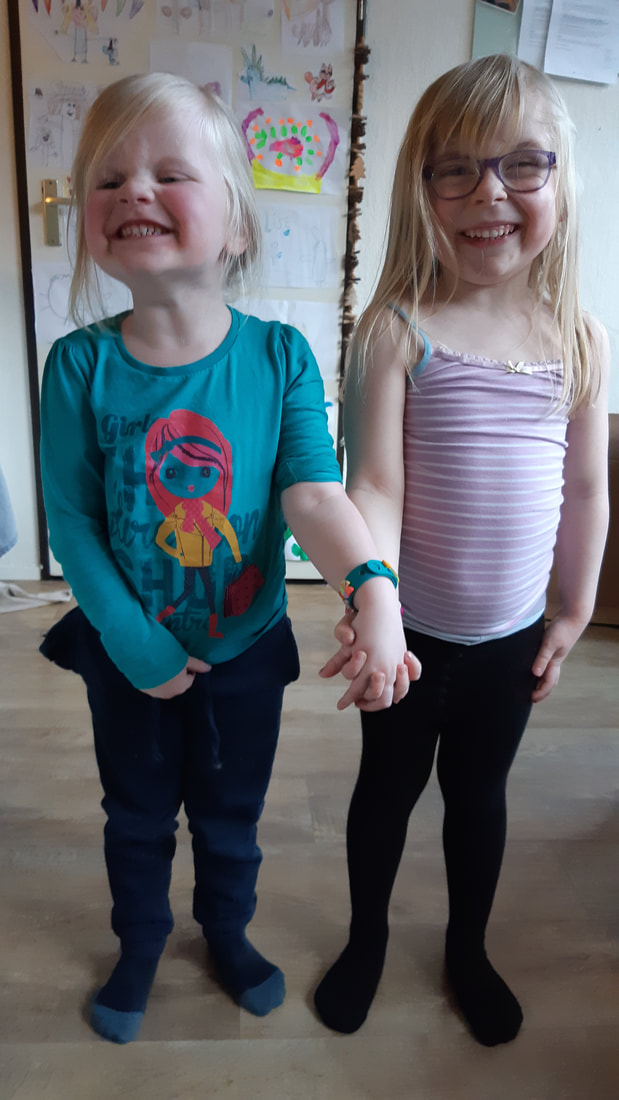
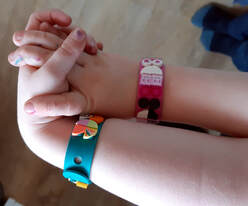
I ordered two bracelet sets for my girls (5 and 3 years old). A lot of the products were already sold out, but I found designs I hoped they'd like. A jungle/Tropical Birds theme for my youngest and Funky Animals theme for my oldest. When they arrived I was a bit disappointed by the packaging, I know the sets are quite cheap, but I just like cardboard better than plastic.
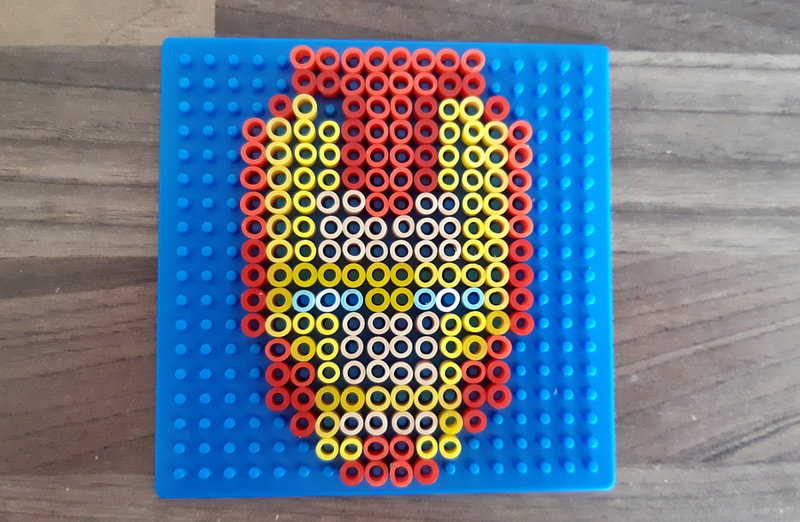
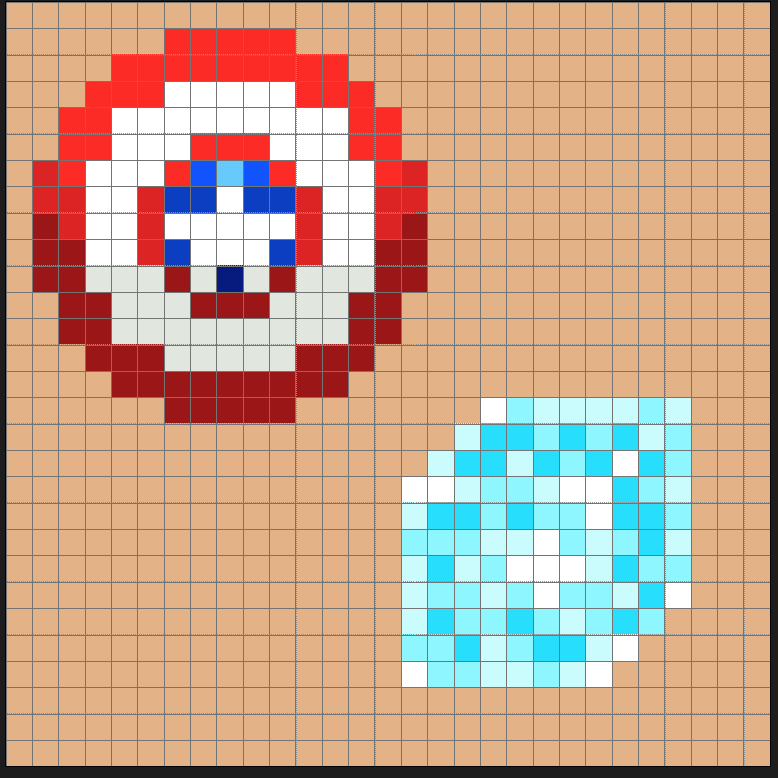
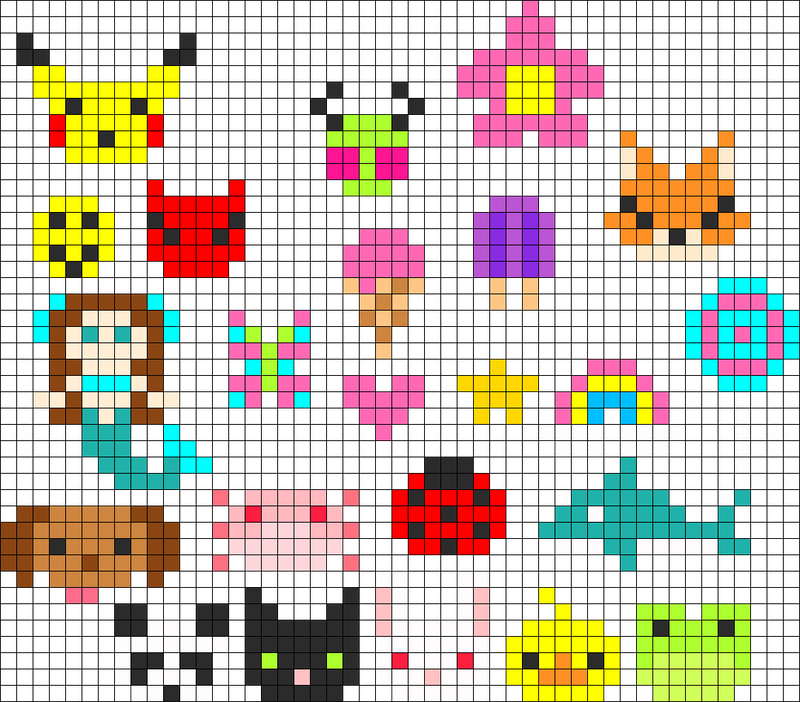
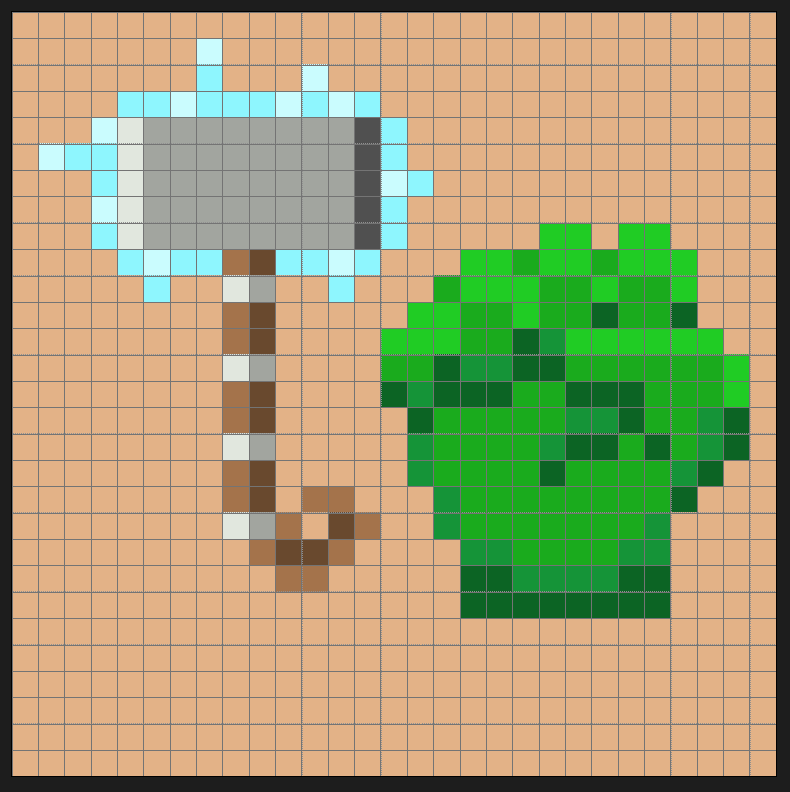
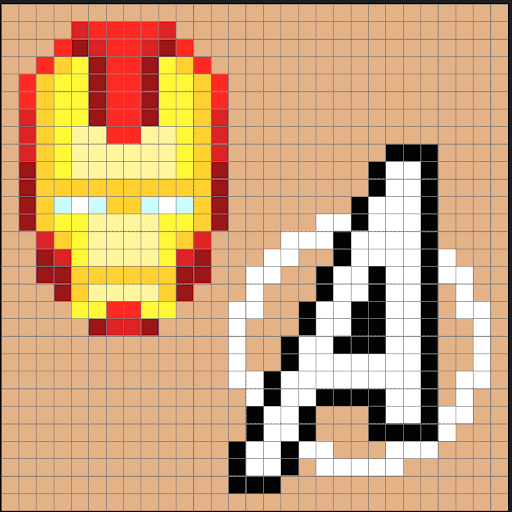
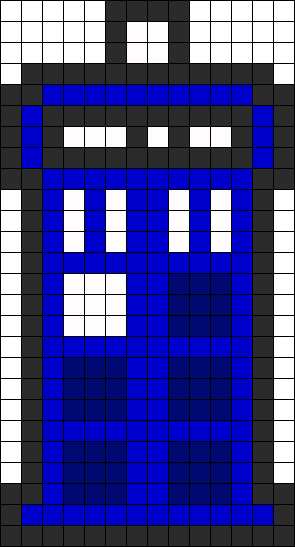
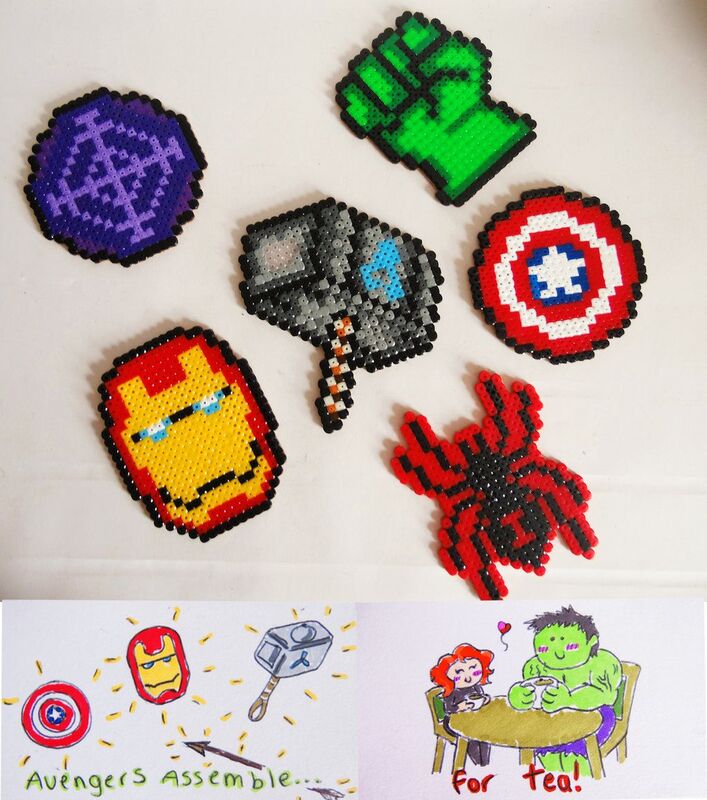
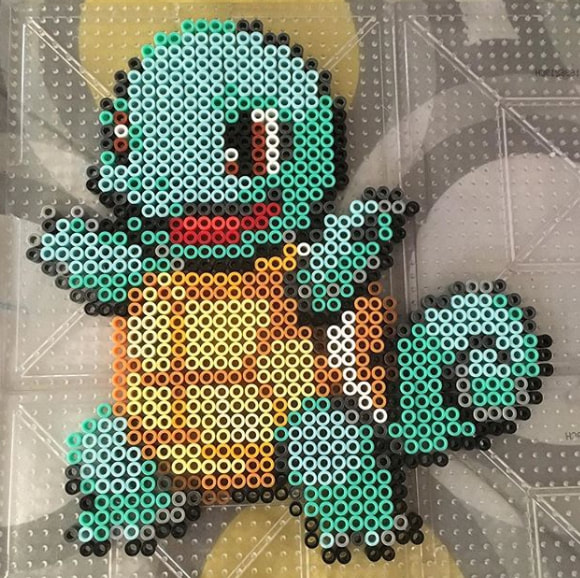
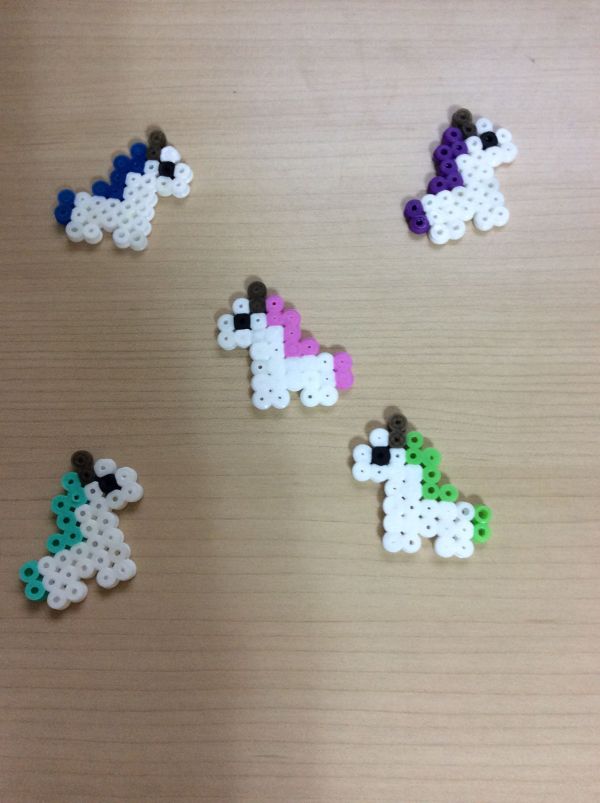
Making your bracelet is very easy, just put the tiles on the bracelet. The bracelet itself is sturdy but flexible and fits on any wrists and closes easily, and the tiles really don't fall off. Even for my youngest it was easy to make the bracelet, despite the size of the tiles. Making the bracelet will keep children busy for some time, especially the perfectionists like my eldest. My girls and I love Lego Dots, but have one more criticism: Lego supplies more tiles than you need, even if you want to fill the whole bracelet. This is nice, and gives you the opportunity to change it if you like. But.. how to save these tiles from getting lost?? A resealable bag would be nice, but this is not included. I guess storage for Lego Dots will be available in time.. Check out all Lego Dots products here. 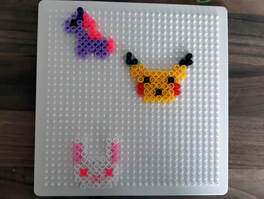 If you are reading this then you are probably spending more time at home than usually. All schools are closed in the Netherlands and we are practicing social distancing. Hopefully this will flatten the curve! Our Geeklings are home 24/7, which is a challenge.. Time for crafts! It keeps us busy, is good for hand-eye coordination and also lots of fun. So this is part one of Corona crafts! Creating designs with perler beads/iron beads is easy, time consuming, and good to practice fine motor skills. I was done with the regular shapes, so I spend some time online to find Geeky patterns to share with you! The unicorns are one of my favorites, not complex and very cute. In the end I made a unicorn and rabbit with and for Evy, and pikachu and Iron Man for Lise. I found out that Lise (four in June) is a bit to young for this craft. After playing with de beads for five minutes she just wanted to wrestle with her dad ;-) Check out this instruction on perler beads, it's easy, but the ironing can take some tries to get it right. And please tag me in the results if you are making your own!
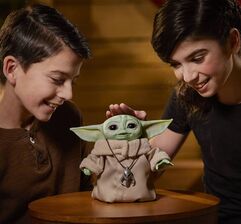 Lego releases two BrickHeadz, the Mandalorian and the Child, sold together for €18,95. You can strap a blaster rifle to The Mandalorian’s back and put a blaster pistol in this bounty hunter’s hand. Create a hoverpram for the Child and adjust its ears for happy and sad expressions. Hasbro's best is surely the animatronic, sold for a reasonable €69,99. He can move his head, eyes and ears and has a lot of sound effects, such as happy, excited, tired and sleeping sounds. He can even act like he uses the force, by lifting his hand, closing his eyes and sighing. More merchandise can be found here on Zavvi, such as Funko's, pluches and shirts. Papercraft your own
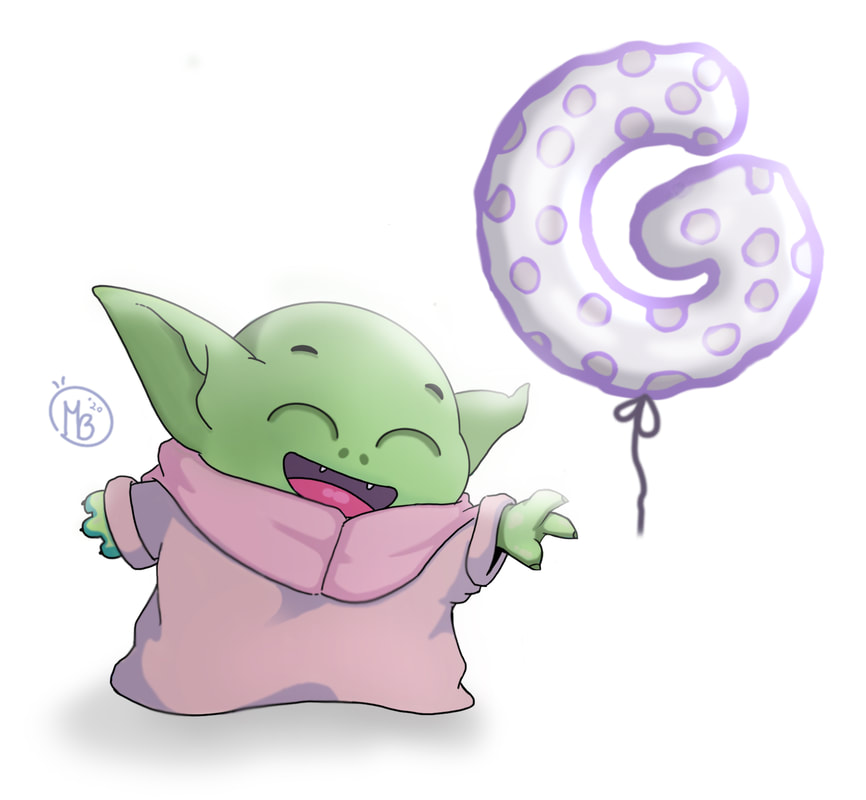
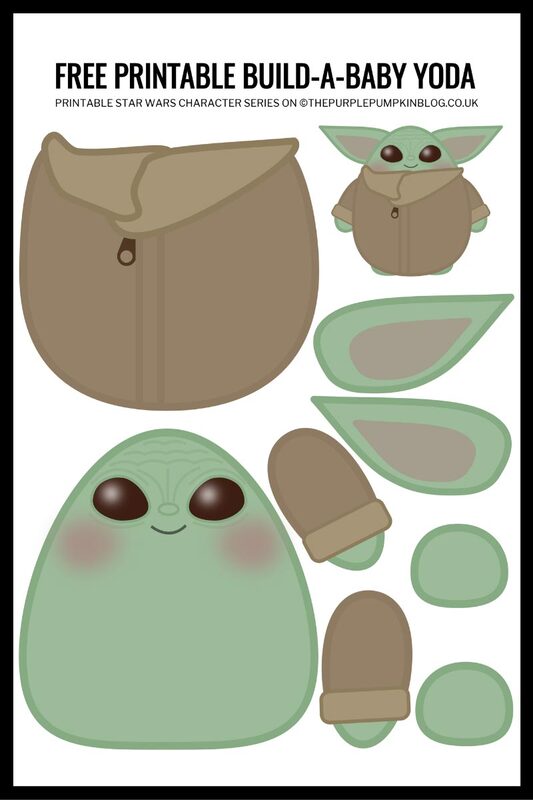
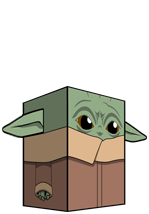
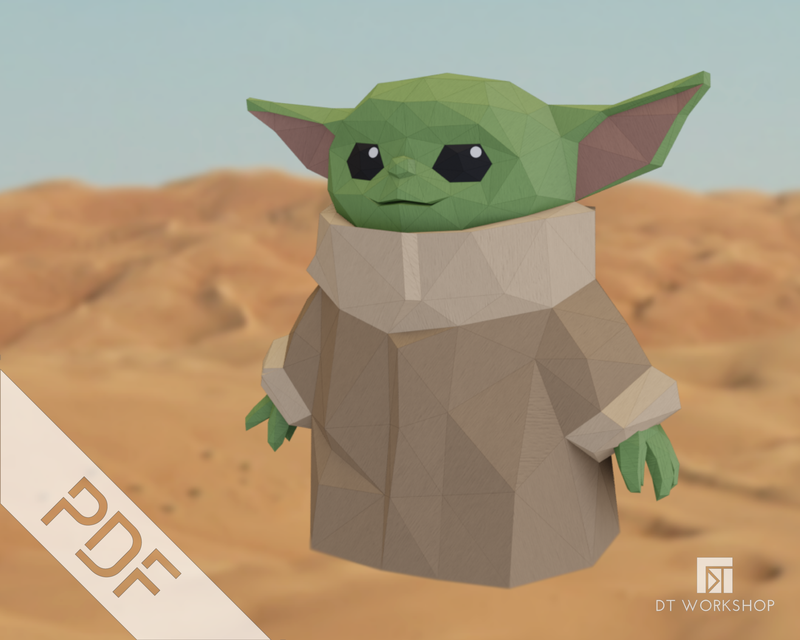
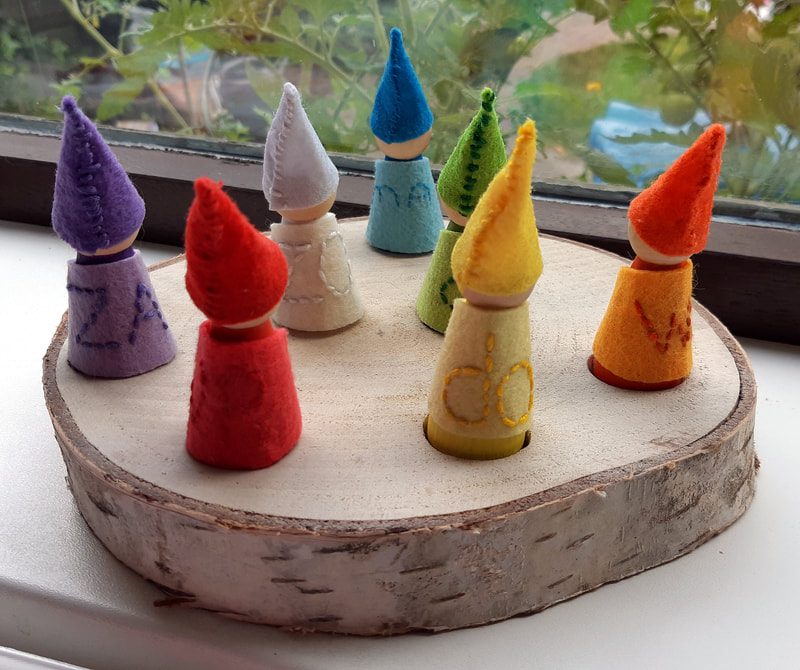
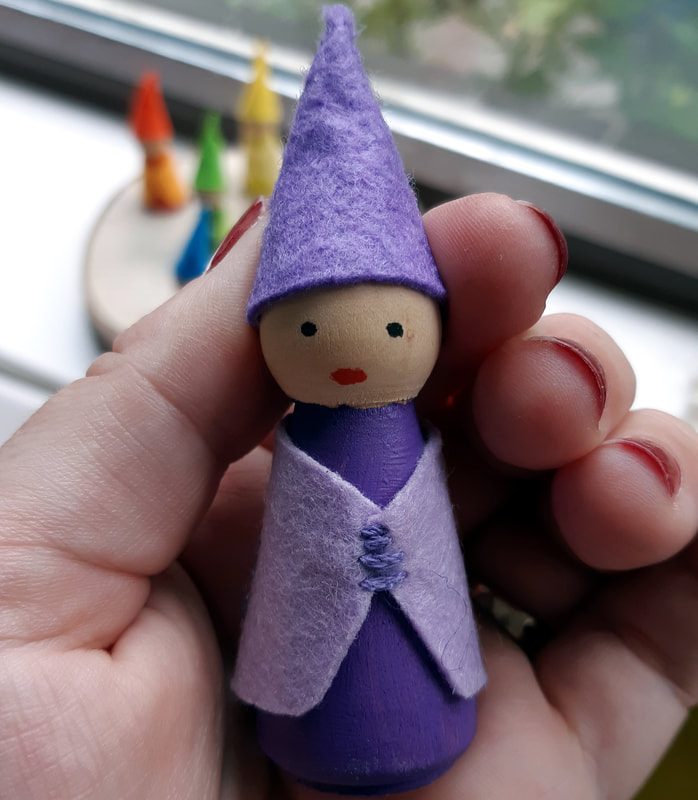
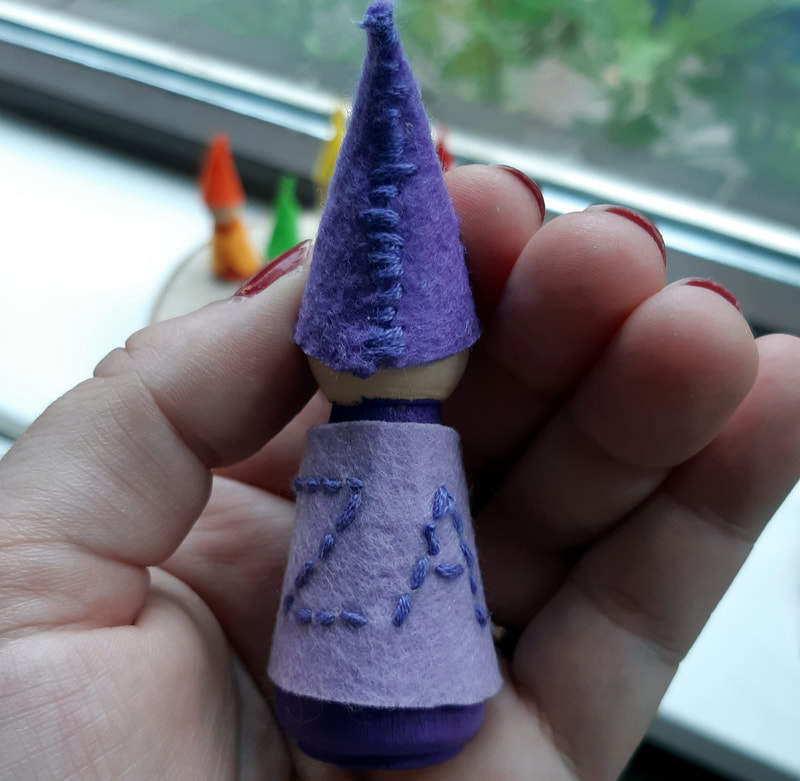
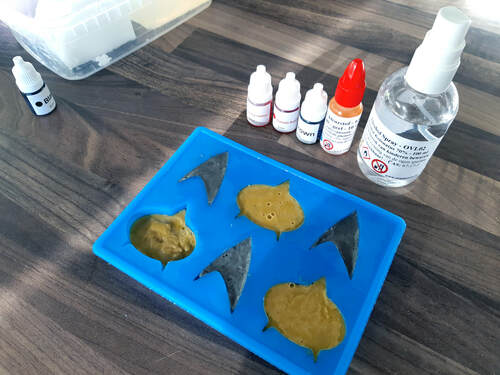
But you don't need a lot of money, and don't have to wait to own your own baby Yoda.. you can also make cute baby Yoda (paper)crafts. Your Geeklings will love to make something with you. You can start with easier papercrafts such as this printable, or the cubee baby Yoda. A lot more complex is this 3D model, for older children or parents. And if you're not into papercraft, why not make this hot bead model I found on Instagram? 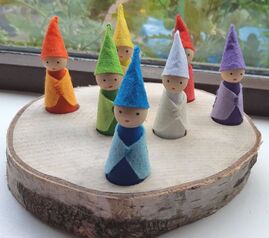 When I discovered peg dolls, I was sold. They are simple wooden figures, that can be transformed in practically any character you choose. I was inspired by creations such as those from By Knus and wanted to make my own. As inspiration I bought Margaret Bloom's book 'Making Peg Dolls', and an inspiration it is :-) There are over 60 peg doll characters in it, some are based on the season, but there are also lovely fairy tale characters in it. I used the book as inspiration and gave my own spin on the designs. Some out of choice, some because I didn't have the exact materials. My first creations are not from the book. I was inspired by something I saw online. Peg dolls based on the days of the week. My girls are 3 and 4 years old and don't know the days of the week yet. Giving them a color makes it easier to remember what day it is, and what day comes next. I used patterns for a cloak and hat from the book to dress the colored peg dolls. Peg doll faces are tricky, the figures are small, so use the smallest size bush you can find. For my first creations I used the simplest faces, with only dots for the eyes. I embroidered the first letters of the week on the backs, not very prettily, but I did my best.. After I finished them I drilled circles in a wooden disc, to put them in. 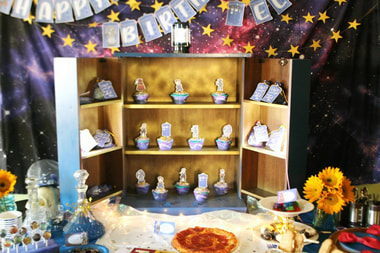 Some ideas you just can't top.. I was in awe when I first found the website My Nerd Nursery. The lady running this site made a lot of cute Geeklings things. She organized a lot of parties in geekstyle. One of them is this amazing Doctor Who Party. She gives suggestions for everything, from the backdrop, to the snacks. Have a look at it, and also check out her other ideas. From popular fandoms like Harry Potter, to Legend of Zelda and Gravity Falls. So if your Geekling has a birthday coming up sometime soon.. 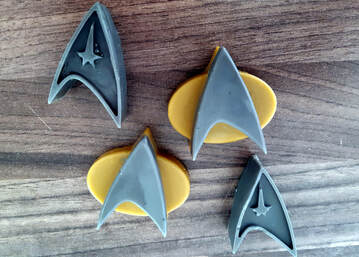 I admit, I have a problem.. Over het last few months I bought a lot of silicone molds. I can't help myself! They are just so versatile, I imagine all the things I can make with them, and buy another one.. You can find a lot of them on Wish, such as the one I'm using here. But Bol.com has several too. At first I used them for cookies only, which had mixed results. Some molds are quite deep, and thick cookies are not always what you want. It gets even more complicated when other molds are not that deep.. some cookies are brown and others still not done, not cool. Making washing up fun! But you can do so much more with them, such as making soap! And that's easier then it seems. Geeklings can help with it (adding color or stirring) and make their own soaps when they are a bit older. And I can guaranty from experience that they will love washing their hands when they made the soap themselves! White or transparent? Okay, making soap, part one. The best way to make soap is to buy soap that is especially made to pour. Have a look around the internet, because prices vary.. The soap can be either white, or transparent, and both have advantages. White soap is not translucent, and that gives the soap a nice effect. Downside.. when the base is white, adding pigment can be tricky. White and red makes pink, not red, white and black makes grey. You can do cool things with transparent soap, such as adding things to the soap, another small mold in a bigger one, glitter, or flowers, the possibilities are endless. 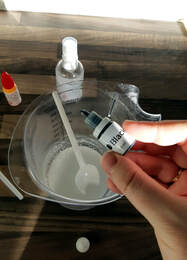 You have chosen your soap. Good job ;-) but what colors do you want? And what about scents? It is a bit of an investment the first time, but you only need a few drops of pigment at a time, so a little bit goes a long way. I would recommend buying a set of basic colors, because you can mix the rest. Scents also last a long time, I bought a few, but it's not that important to me. Melting soap is easy, but be careful that it doesn't get too hot. You can either melt the soap au bain marie on a stove, or in short bursts (20 seconds or less at a time) in the microwave. My soap came with a plastic measuring cup, which made using the stove impossible.. but the microwave does a great job. Hurry, hurry Soap doesn't stay in liquid form for long, so make sure you have everything you need ready. Add some color, stir, add scent and pour in the mold. In this case, my Star Trek mold. I wanted my soaps to look like communicators, in black and gold. That turned out to be quite hard. Making white soap black enough took a few tries, and blending colors to get something that looks like gold was also difficult. For a few of the soaps I used two layers. If you want to do this, make sure that the first layer is almost hard, spray that layer with alcohol and add the second layer. Alcohol is very useful when making soap. It kills the bubbles in the soap and makes layers stick, you can buy it in webshops that sell the soap too. So, what do you think of my Star Trek soap? 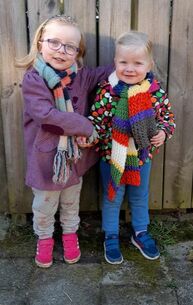 The thing I love about Cosplay: imagination is the most important thing. Over the years I've seen amazing costumes of self invented characters. But even when cosplaying a famous character, it's the thought that counts. Your own spin on a character, but with enough likeness to get a reaction from fellow Geeks. Which is thé Doctor Who scarf? One of my Geeklings needed a new scarf, so I thought about the famous Doctor Who scarf. But which one?! There doesn't seem one original, so I didn't really know which version to pick. But then I found a Osgood pattern on Pinterest. I decided to translate the colors to the wool I actually had.. which aren't the precise ones. 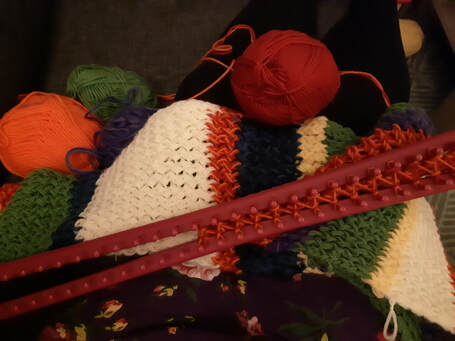 The Geeklings version I made a quick drawing for myself, to remember the order of the colors. And made the scarf on a loom, because I can't knit well. It was meant as a practical kids scarf, so it couldn't be too long. The question is, does it still look like a Osgood scarf? I'm not sure, I might make another one with correct colors. I still like this one though , and it's almost spring. So another one will have to wait till next year. :-) |
AuthorTamara, Geek, mother of two Geeklings, editor. Archieven
February 2021
Categorieën
All
|
 RSS Feed